- Sign up for a free account at StatCounter or any other counter and follow the 'Install Code' wizard to generate your StatCounter code.
- When prompted, make sure to choose wordpress.com (hosted by wordpress) as your Blog/Web Page Editor from the drop down list.
- Copy the StatCounter code.
- Log into wordpress.com.
- Click "My Dashboard" in the top navigation bar.

- Click "Appearance" and then click "Widgets" in the left navigation bar.

- In the "Available Widgets" section, add a "Text" widget.
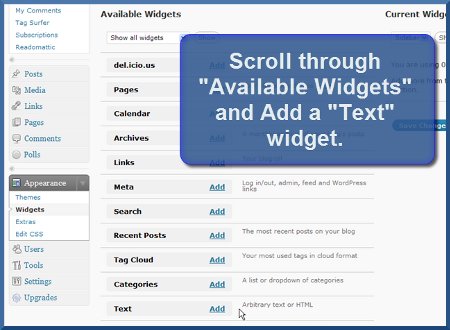
- A new "Text" option will now appear under the "Current Widgets" section of your wordpress dashboard - click the "Edit" link.

- Paste your StatCounter code into the main body of the Text Widget.

- Click "Done".
- Click "Save Changes" and that's it!
Your StatCounter will now begin recording visitor information and, if you chose the visible option, your counter will be visible on your blog! (The image below shows a sample StatCounter.)